How to Make a Hair Bow Out of Ribbon
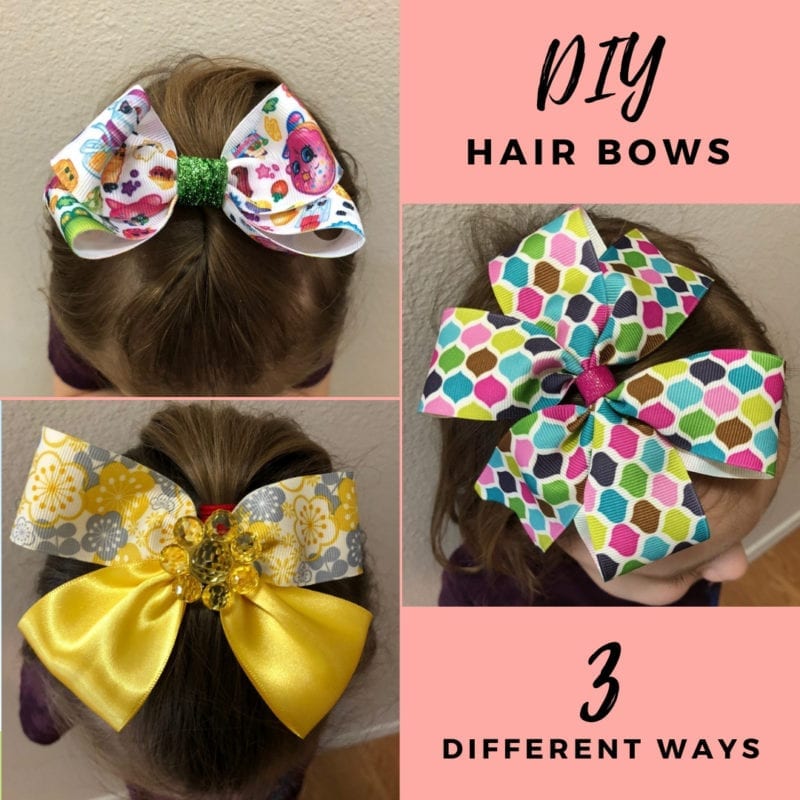
How to make hair bows in three easy styles – then change them, stack them, and add embellishments for a look that is perfect for the girls in your life!
Anyone that knows me can tell you that I am such a sucker for a sweet and sassy girl with a big bow in her hair. They make the perfect addition to an outfit or themed accessory for holidays.
Having girls of my own, I am usually making matching sister bows that can also be used as adorable pigtail bows. They have been humoring mom's bow addiction for quite some time now. I dread the day when they don't want to wear them anymore. Until that day comes, I'll keep on making them!
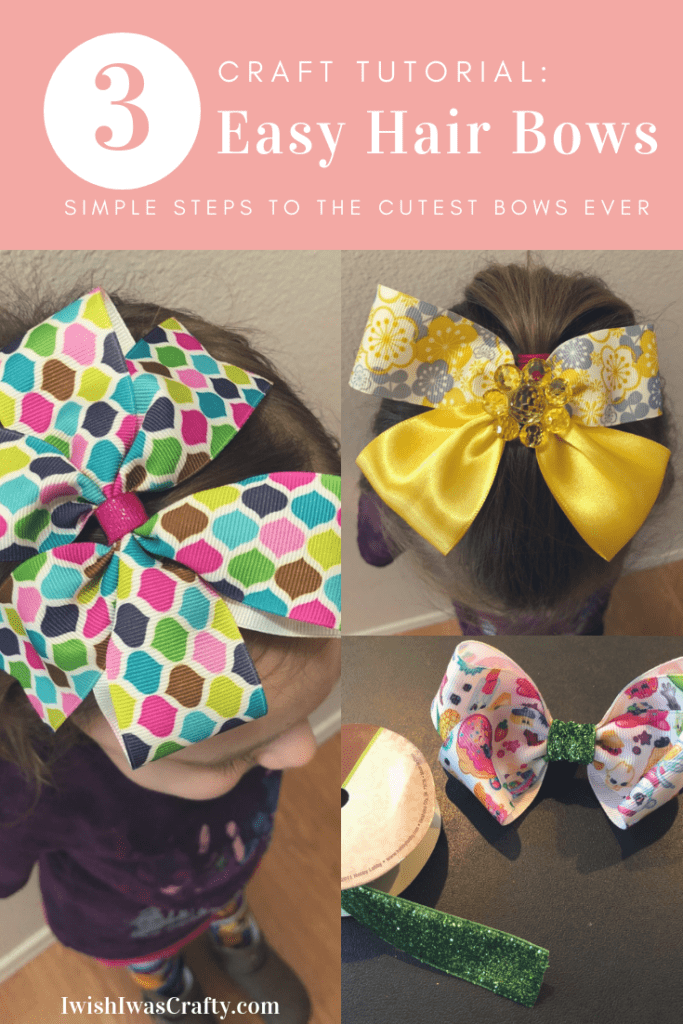
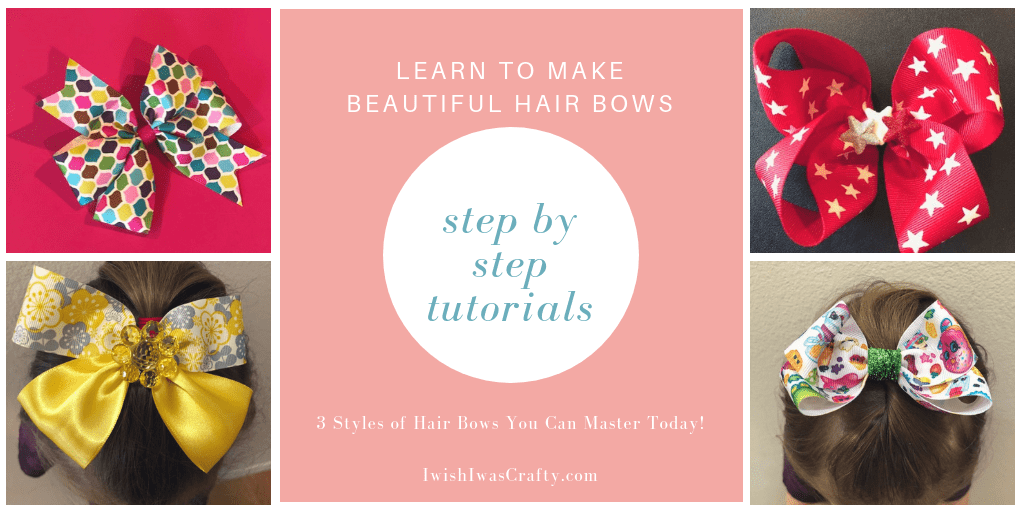
How to Make Hair Bows for Girls
Today, I am going to give you step by step instructions for how to make hair bows in three different styles. They can each be made as their own individual bows or combined into a 'Super Bow' (or better known as a stacked bow) if you'd like. A lot of bow making is about personal preference. You can leave them plain and simple or go all out and embellish the heck out of it. I am sure you are going to make some little lady in your life very happy to be sporting your finished product. Here we go!
Make Hair Bow Guides
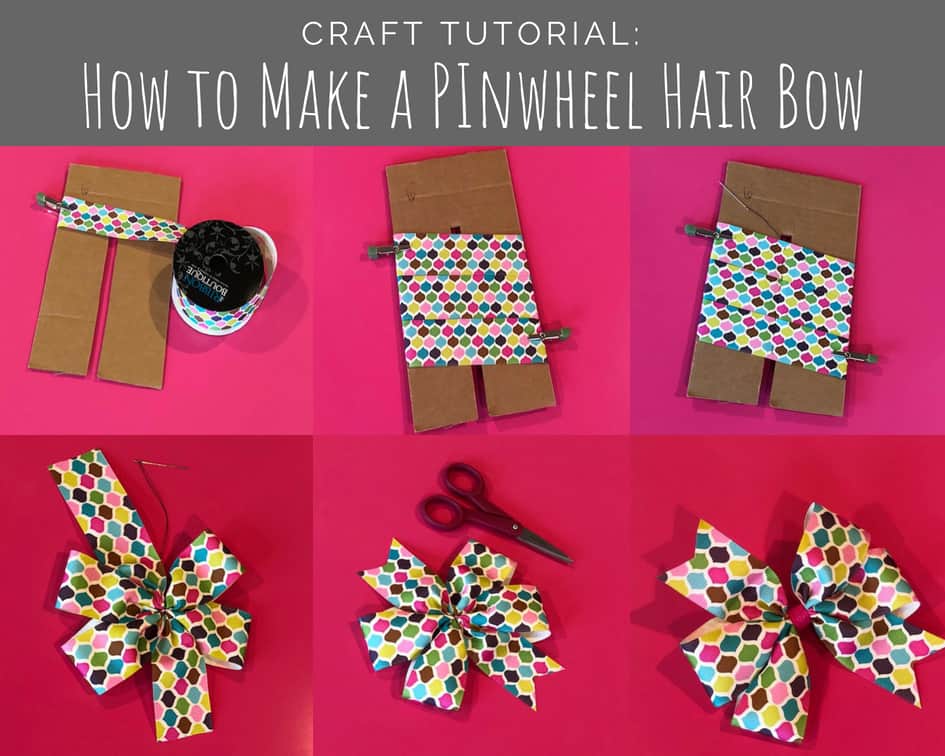
The first bow we will be making is the Pinwheel bow. Before we start, I would like to discuss the guides I use for them. Everyone has their different methods for how to wrap their ribbon for this bow. I personally found cardboard guides to be most useful. They are simple to make and if you order from Amazon every other day like I do, then you have no shortage of cardboard lying around to use for these guides.
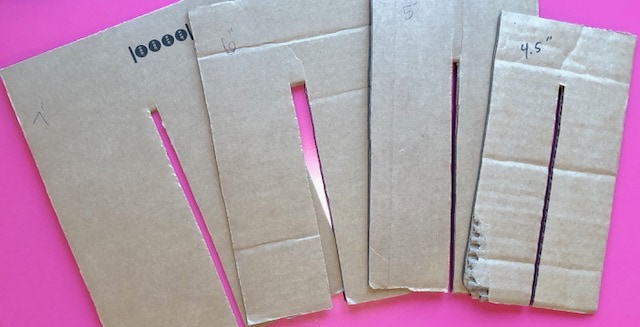
Cut a rectangle of cardboard according to the width you'd like your finished bow. I am a woman of variety so I have quite a few ranging from baby bow size ( 3 inches) to jumbo bow size (9 inches). These ones pictured are the ones I use most frequently. After you have cut your rectangle, measure the center point of your guide and cut a thin chunk out of the middle. It should be no bigger than ¼-½ an inch. Only cut it about ¾ of the way up your guide. Label the size at the top to help confusion if you decide to make multiple sizes. You are now ready to start your Pinwheel Bow.
How to Make Pinwheel Style Bow
Supplies:
Ribbon of choice
Clothespins for holding ribbon (or you can use spare hair clips)
Needle and thread
scissors
Hair clip of choice (for thick hair, I do recommend a barrette style clip)
Glue gun/glue sticks
Embellishments (optional)
Cardboard guides (recommended)
Instructions:
1) You will need to decide what size bow you would like to make. For this tutorial, I will be making a 6" bow. Start by clipping the end of the ribbon to the front of your guide.
2) Wrap your ribbon around the guide 2 and a half times. You should have 3 pieces of ribbon in the front and two in the back.
3) Hand stitch up the center of the bow. Once you have stitched all the way up, shimmy your ribbon down off of the guide.
4) Pull the thread tight and wrap it around the bow a couple times before securing it with a knot in the back side of the bow. Once your knot is secure, cut off any excess thread.
5) The next step is all about preference. You can trim up the tails to be longer, shorter or even with the bow. You can cut them at an angle or leave them straight. For the tutorial, I chose to trim them in a "V" by folding the tails vertically and cutting at an upward angle. Once the tails are cut, I like to use a lighter to burn the edges slightly to keep them from fraying.
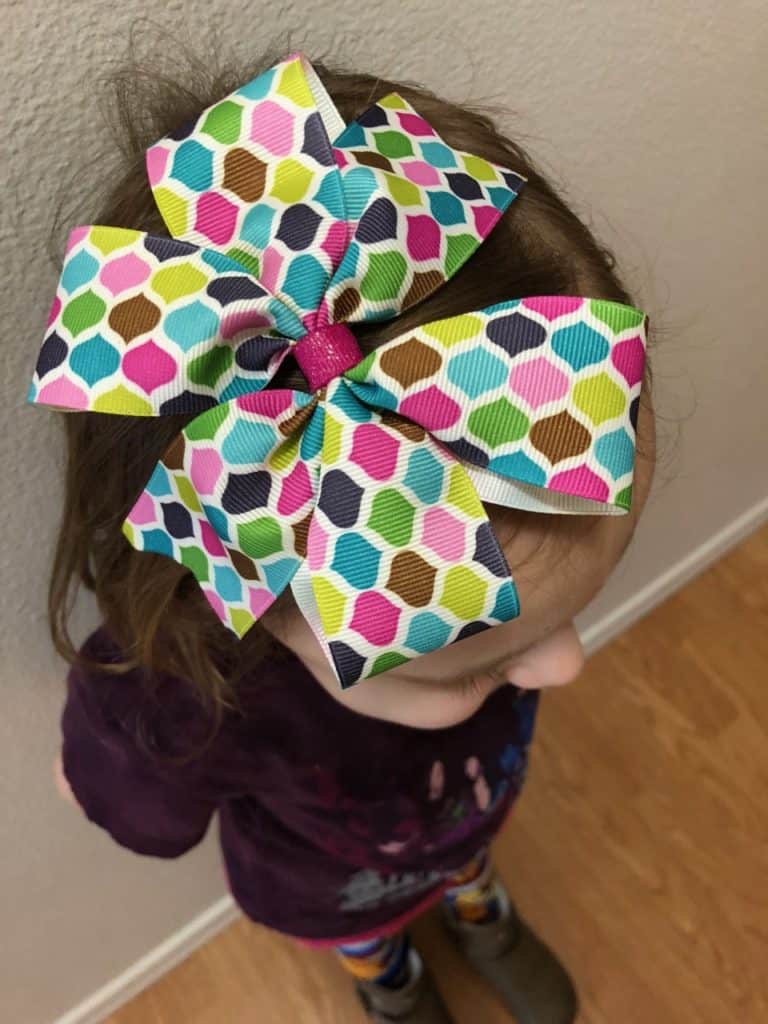
6) Now we are ready to get this baby on a hair clip. I used a coordinating ribbon to wrap around the center of the bow and attach the hair clip of choice to the back, making sure to use a hefty amount of hot glue. The option of adding any embellishments to the center of the bow can be glued on next.
You should now have a beautiful bow for the special little lady in your life.
How to Make a Bowtie Style Bow
Supplies:
Medium-wide width ribbon (most kinds will work)
Hair clip of choice (alligator, barrette, flat)
Needle and thread
Scissors
Hot glue gun/glue sticks
Coordinating ribbon for the center
Embellishments (optional)
Instructions:
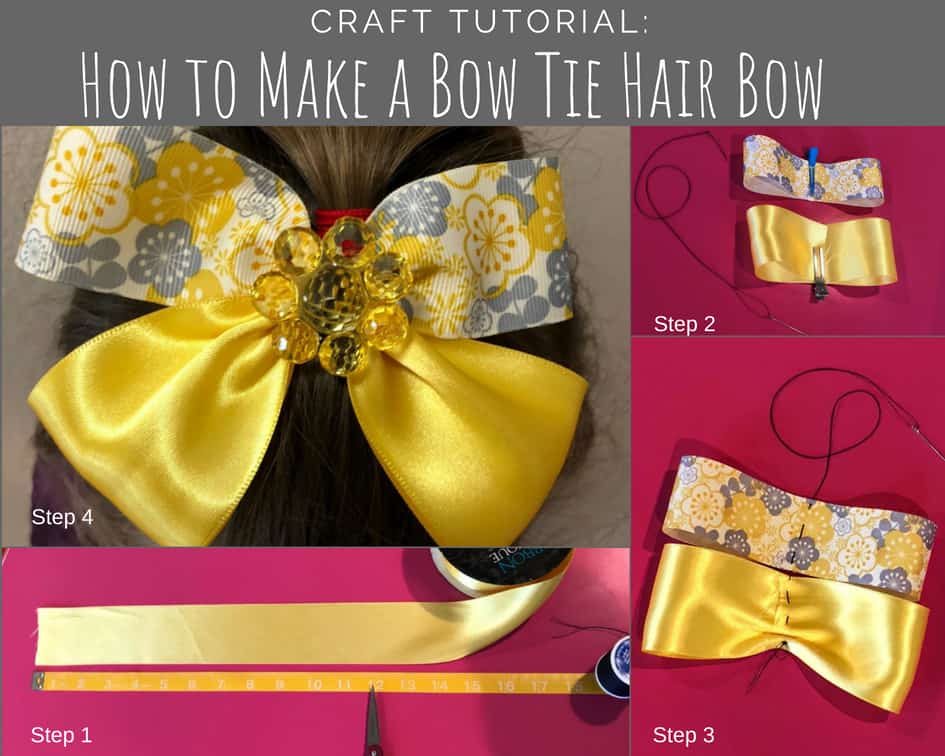
1) Cut 2 pieces of ribbon double the size you'd like your completed bow. For this tutorial, I cut 2 pieces of ribbon (one is a patterned grosgrain and the other is a solid, satin) 12 inches in length for a completed bow 6 inches in size.
2) Fold the ends of the ribbon into the middle point (in my case, the 6-inch mark), Use a clothes pin or clip to secure the ends to the middle until you're able to sew them.
3) Hand stitch up the center of both ribbons. Once you reach the top, pull tight and wrap the thread around twice before securing in the back of the bow with a double or triple knot. Cut off any excess thread.
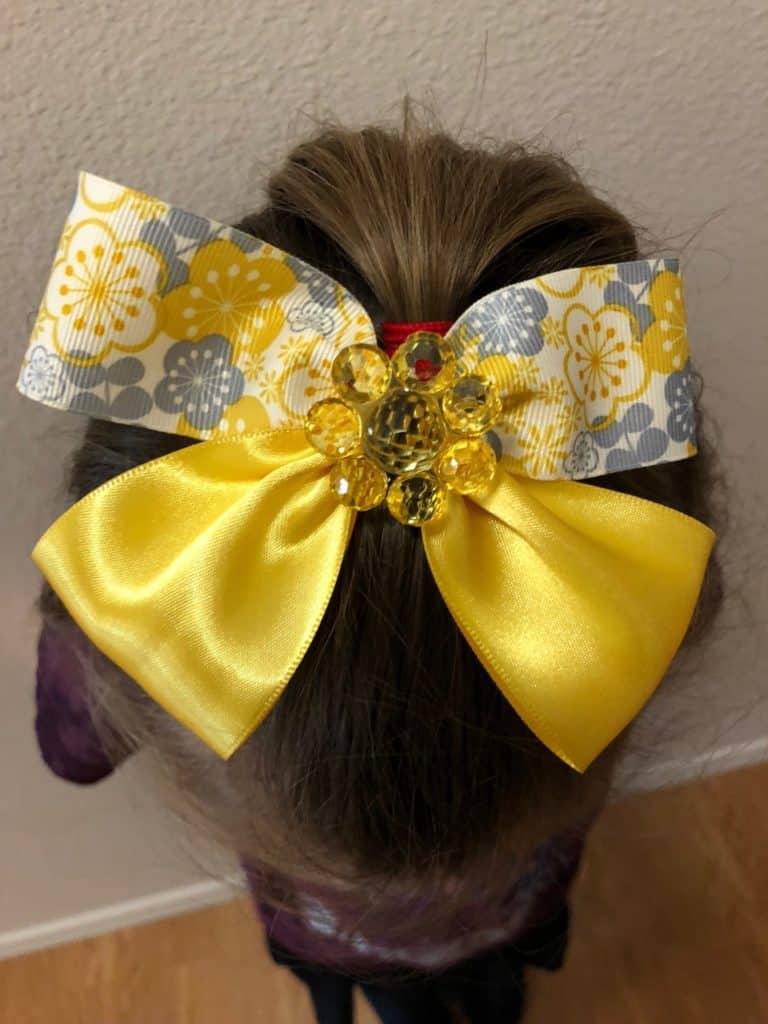
4) Use a coordinating ribbon to cover the thread and attach the hair clip to the back of the bow with a glue gun. Glue on any embellishments you'd like.
Tada! Your bow is ready to find a ponytail. Happy bow making!
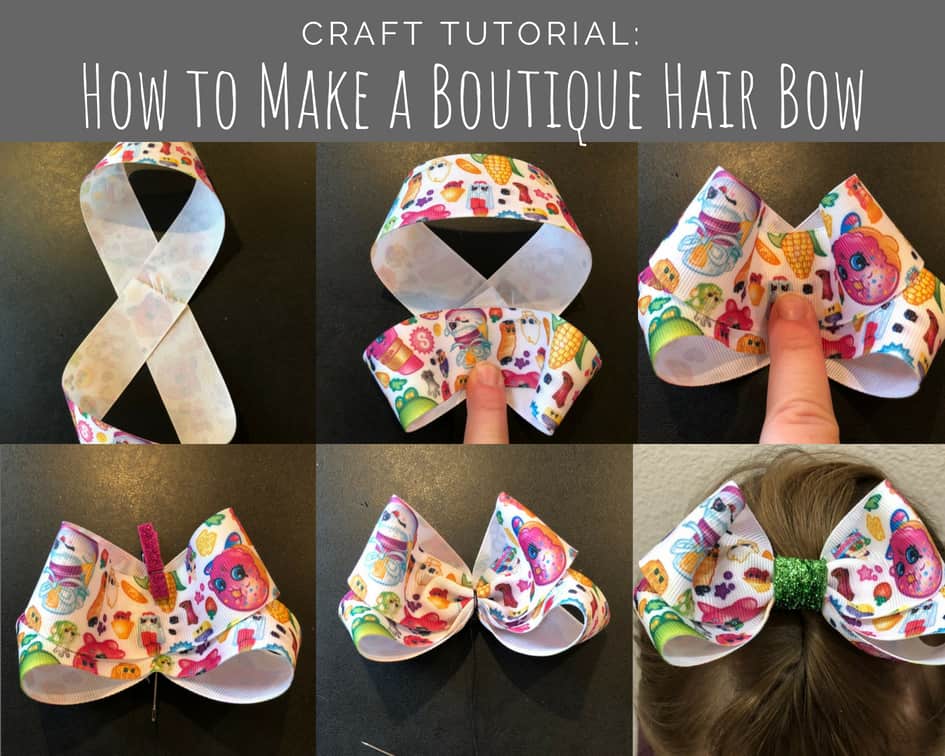
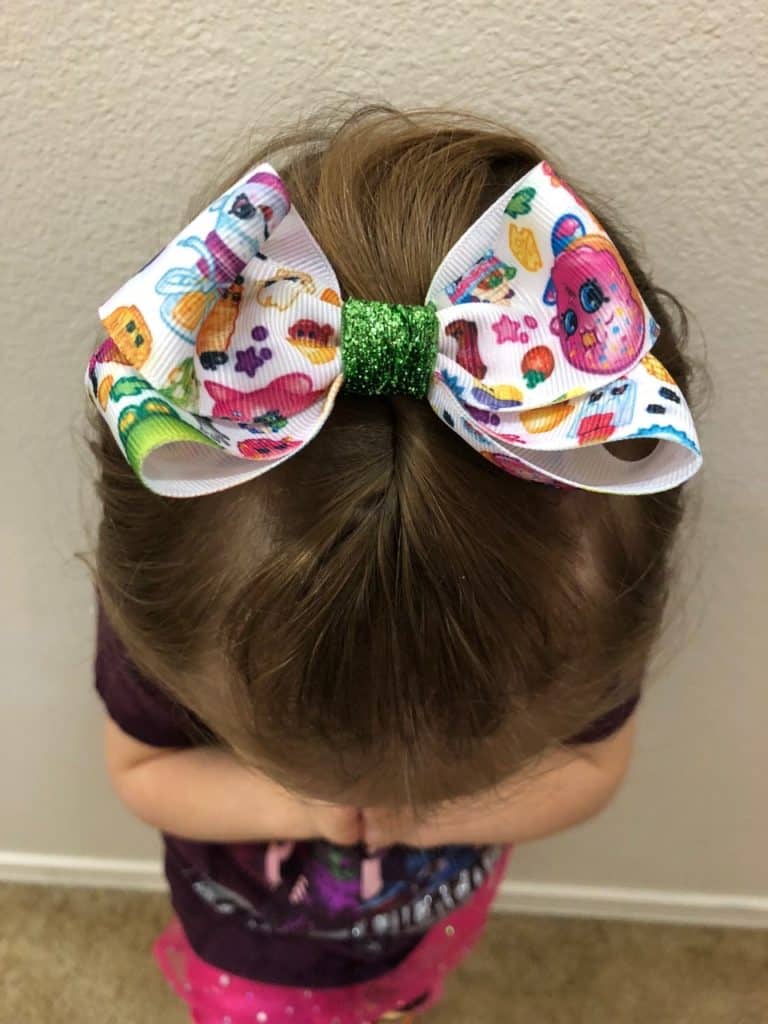
How to Make the Boutique Style Bow
Supplies:
A Medium or Wide ribbon (most kinds will work)
Hair clip of choice
Needle and thread
Scissors
Hot glue gun/glue sticks
Coordinating ribbon for the center
Embellishments (optional)
Instructions:
1) Depending on how big you want your completed bow, you will need to cut quite a long piece of ribbon. Normally, I would go through the steps before committing to a size. For the sake of the tutorial, I had a piece of leftover ribbon that was 22 inches in length. My completed bow is 4.5 inches.
2) Make a figure 8 with your ribbon by folding the ends over and bringing them to the middle. Make sure your loops are the same size (or about the same size). I personally like to offset my loops just a tiny bit to get an uneven (top/bottom) bow. I know some people may shudder at the thought of an asymmetrical bow and that is completely fine.
3) Next, you need to bring the center of both loops to the middle of your "8", where your ends meet.
4) You can use a pin or clip to hold the center so you can sew (hand stitch) up the center. You can also use crafting wire if you prefer. If you choose to sew it, make sure to pull the thread tight and wrap it around a couple of times before securing it in the back of the bow with a double or triple knot. Cut off any excess thread.
5) You will need a coordinating piece of ribbon (or trim) for covering the thread and attaching the hair clip to the back. Time to plug the glue gun in and secure the hair clip. Once you are done with that, you can add any embellishments you'd like.
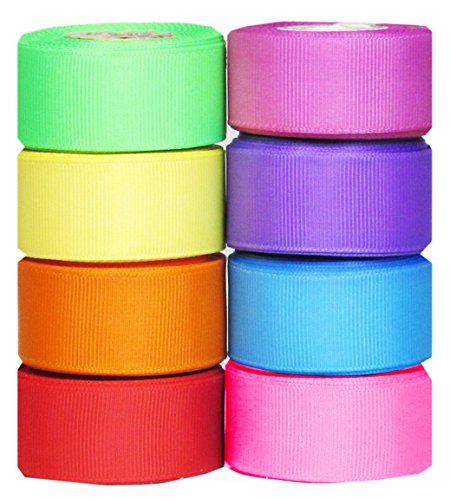 Ribbons for Crafts-Hipgirl 40 Yard 7/8
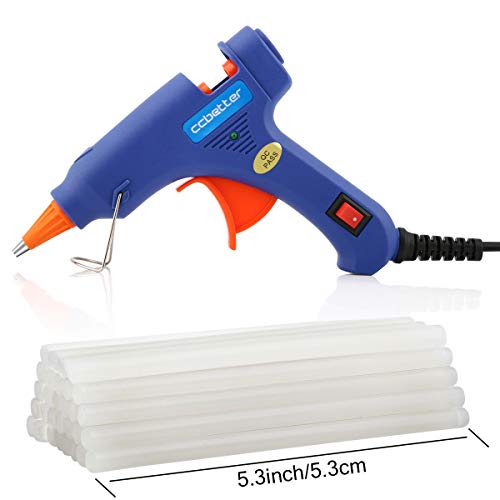 ccbetter Upgraded Mini Hot Melt Glue Gun with 30pcs Glue Sticks,Removable Anti-hot Cover Glue Gun Kit with Flexible Trigger for DIY Small Craft Projects & Sealing and Quick Daily Repairs 20-watt,Blue
  SALE YYCRAFT 120 Assorted Fabric Applique Scrapbooking Ribbon Flowers Bows Embellishment Sewing Craft Wedding Ornament
  Jili Online Pack of 40 Assorted Shapes Pearl Crystal Flatback Buttons Embellishments for Hair Bow Crafts Wedding Decor
  Hotop 50 Pack Snap Hair Clips Hair Barrettes for Kids, Girls and Women, 50 mm (Silver)
  Marrywindix 50 Pack 2.36 inches Hair Clips, Silver Metal Alligator Hair Pins Teeth Bows Hair Clips Hairdressing Salon Hair Grip DIY Accessories Hairpins for Women, Girls and Hairdresser Sliver
Are you ready to try your hand at making your own bows?! I know you are! (I have the DIY bug, I can't help myself.) Share your creations to Instagram and tag them with @iwishiwascrafty so I can see and reshare your crafts!
By the way, you can also find the cutest Halloween Hair Bows and Turkey Hair Bows for the fall season!
How to Make a Hair Bow Out of Ribbon
Source: https://www.mynourishedhome.com/how-to-make-hair-bows/